
Vespa P125 Motor Rebuild Part 5
Removing the Cylinder and Exhaust
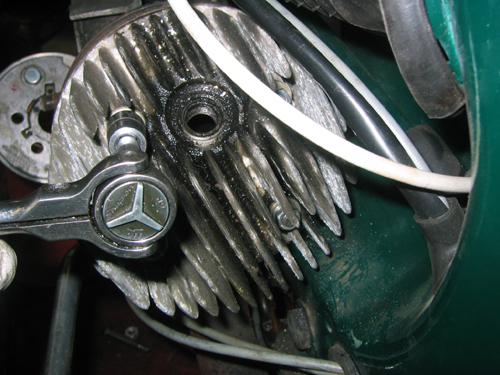
There are some things to note before removing the cylinder head. It is made of aluminum, and can easily be damaged if improperly removed. The cylinder head is held on by four nuts. These nuts must be removed in a "star" pattern. In order to do this, you can number each nut in a clockwise direction. Work from nut one, to nut three, to nut two, and then nut four. Loosen each nut slightly, then move on to the next nut, until they are all loose.
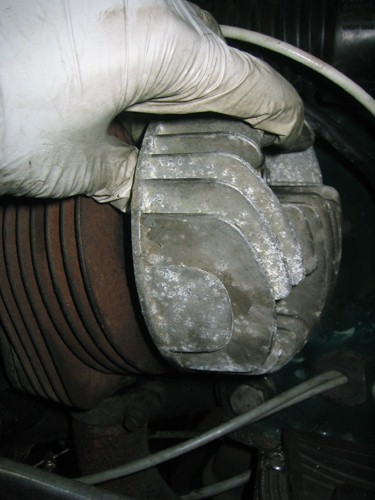
Remove the four nuts on the top of the cylinder head and pull the head free from the cylinder studs.
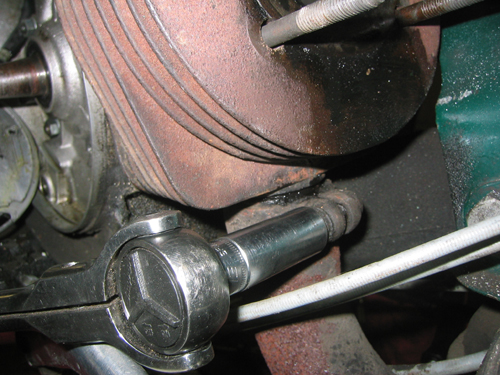
Loosen the securing nut on the exhaust manifold.
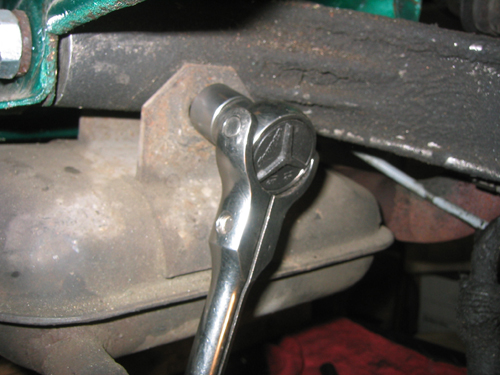
Remove the exhaust securing bolt from the swingarm, and pull the exhaust off the motor.
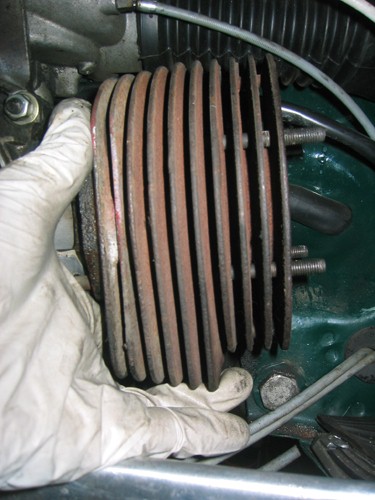
The cylinder can now be removed from the motor. Carefully push the cylinder slightly away from the cases. Then, remove the cylinder studs. If you do not have a stud remover tool, you can take them off using the "two nut" method.
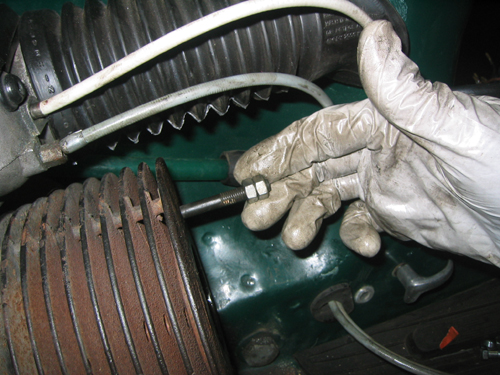
The two nut method is as its name implies, a way to remove the studs using just two nuts. Simply tighten one of the nuts very snug against the other on the end of the stud. Then, by unscrewing the bottom nut, the stud breaks free from the case and can be removed. Note that the nuts must be very tight up against one another for this to work.
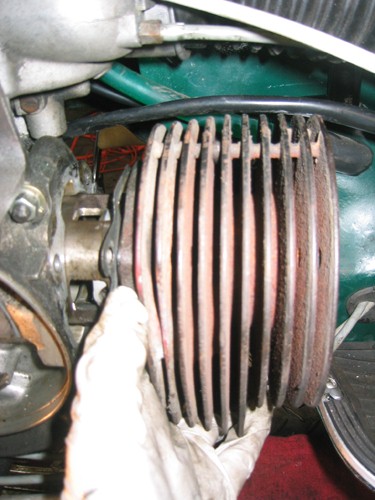
Push the piston down to bottom dead center, or the bottom of the stroke, so it will be out of the way. The cylinder can be now removed from the motor. Support the cylinder from the bottom as you remove it.
Previous Page |
Tech Home |
Next Page |