
Vespa P125 Motor Rebuild Part 2
Removing the Stator and Rear Wheel

With the flywheel off the motor, mark the location of the stator plate. You can easily do this by taking a pen and marking a line across the stator and the motor case. Alternately, you can scratch a line into the metal of the stator across on to the motor case. Anything will do, as long as you can put the stator back on the motor and be able to line up the marks so the stator is in the exact same location.
Remove the three screws which hold the stator in place. Note, these screws can be tight. If you have trouble removing them, a hand impact wrench with a phillips-head bit can be very helpful. Next, unhook the wires from the stator to the main wiring loom at the black junction box located at the top of the motor. Then pull the wires through the hole in the motor, and remove the stator plate from the motor.
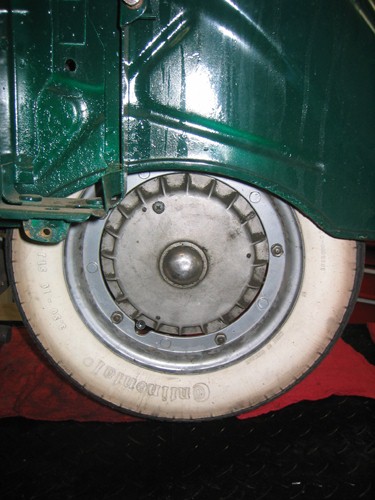
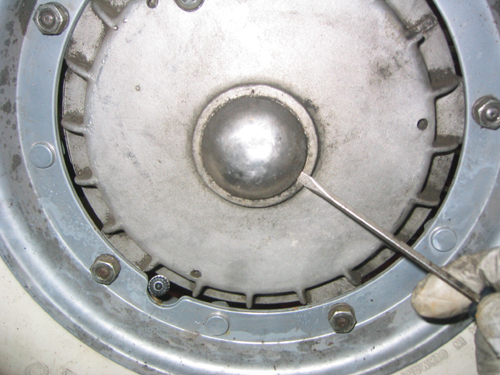
Now, with the rear wheel off the ground, remove the chrome wheel nut cover in the center of the hub.
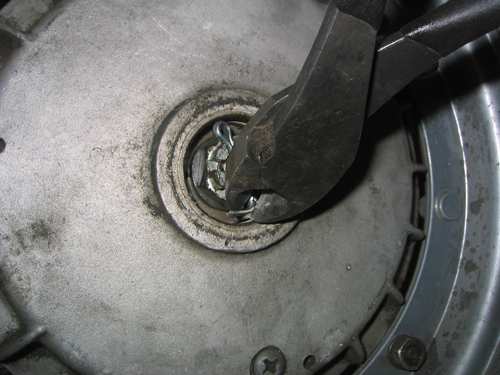
Use your dikes to remove the cotter pin on the rear axle.
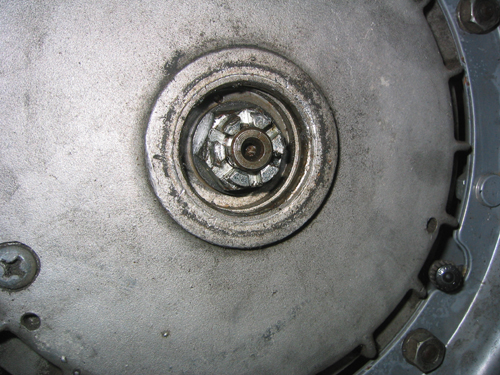
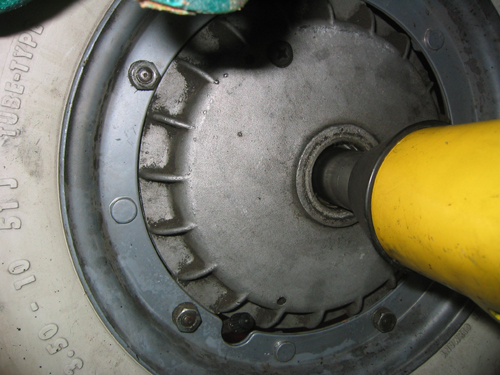
Remove the rear axle nut. If you have access to an air powered impact wrench, this is an easy job. If you don't have an impact wrench, it would be helpful to have a friend help you. Have your assistant press on the rear brake, while you remove the rear nut. A long wrench, or a breaker bar can help break the nut loose if it is very tight.
Pull the entire hub and wheel off the motor. Make sure to watch out for the spacer washer behind the wheel nut.
Tech Home |
Next Page |